Last updated November 22, 2026
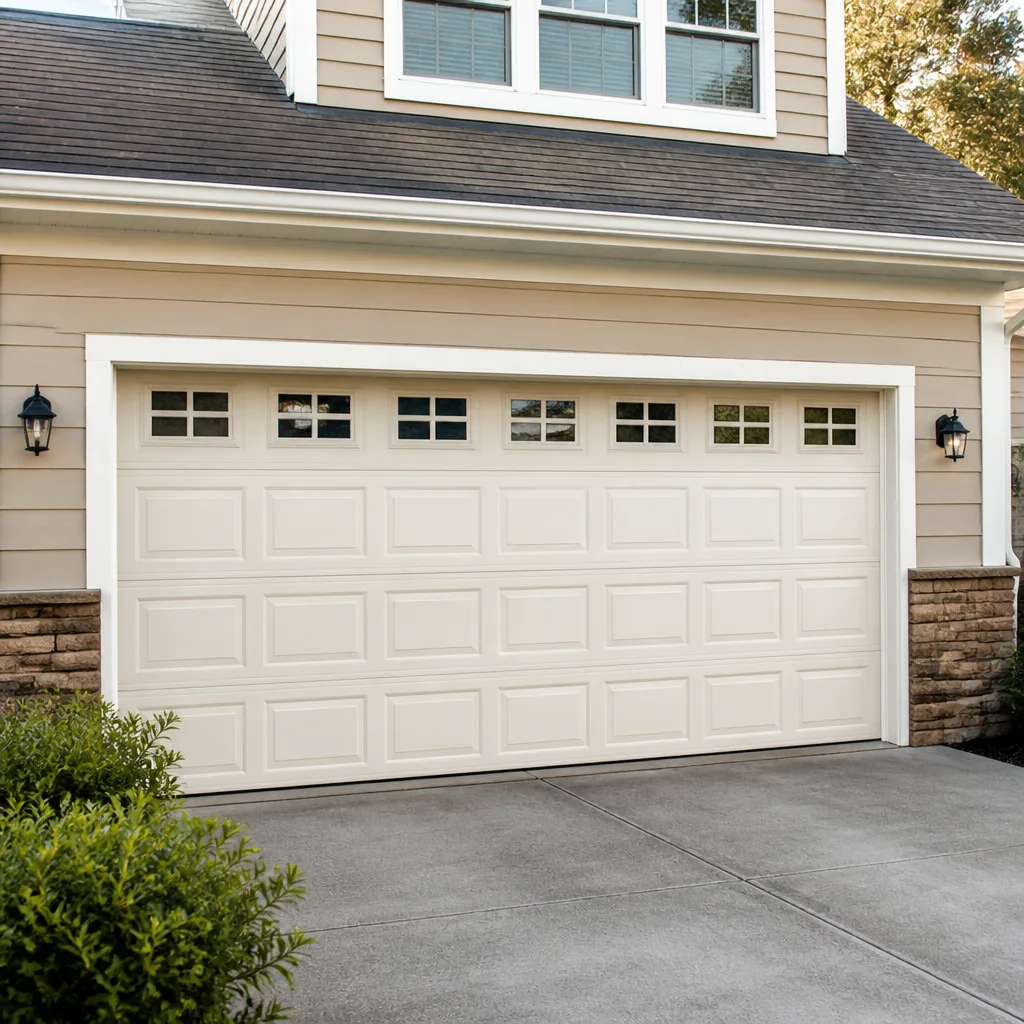 Raised-panel steel
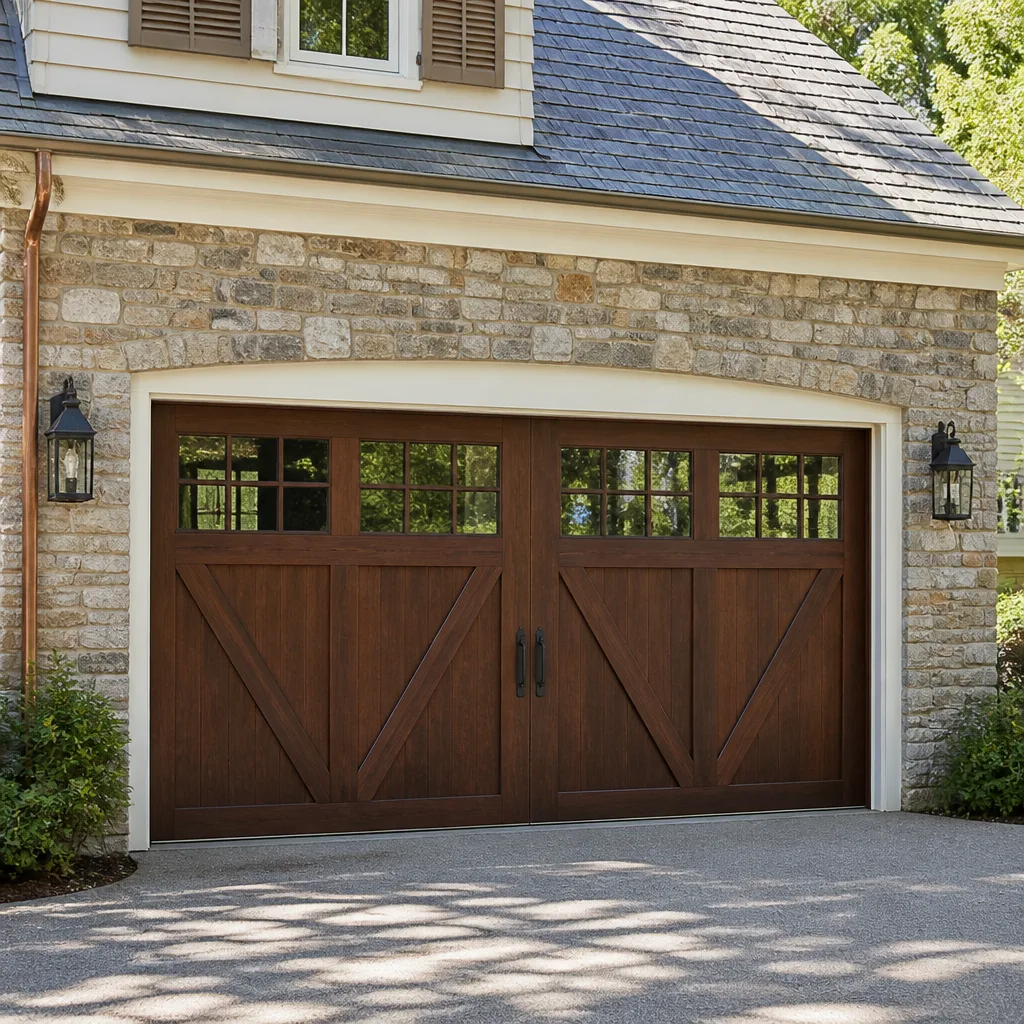 Carriage house
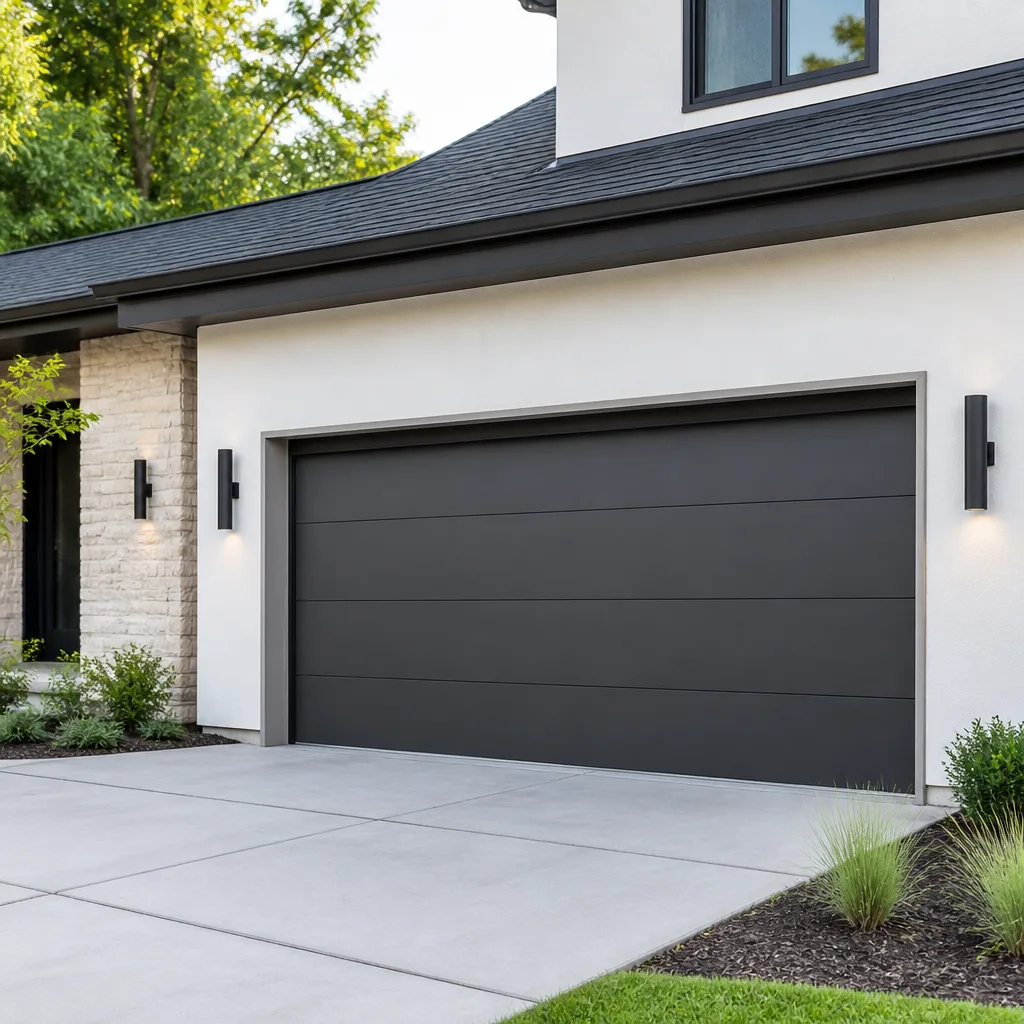 Modern flush
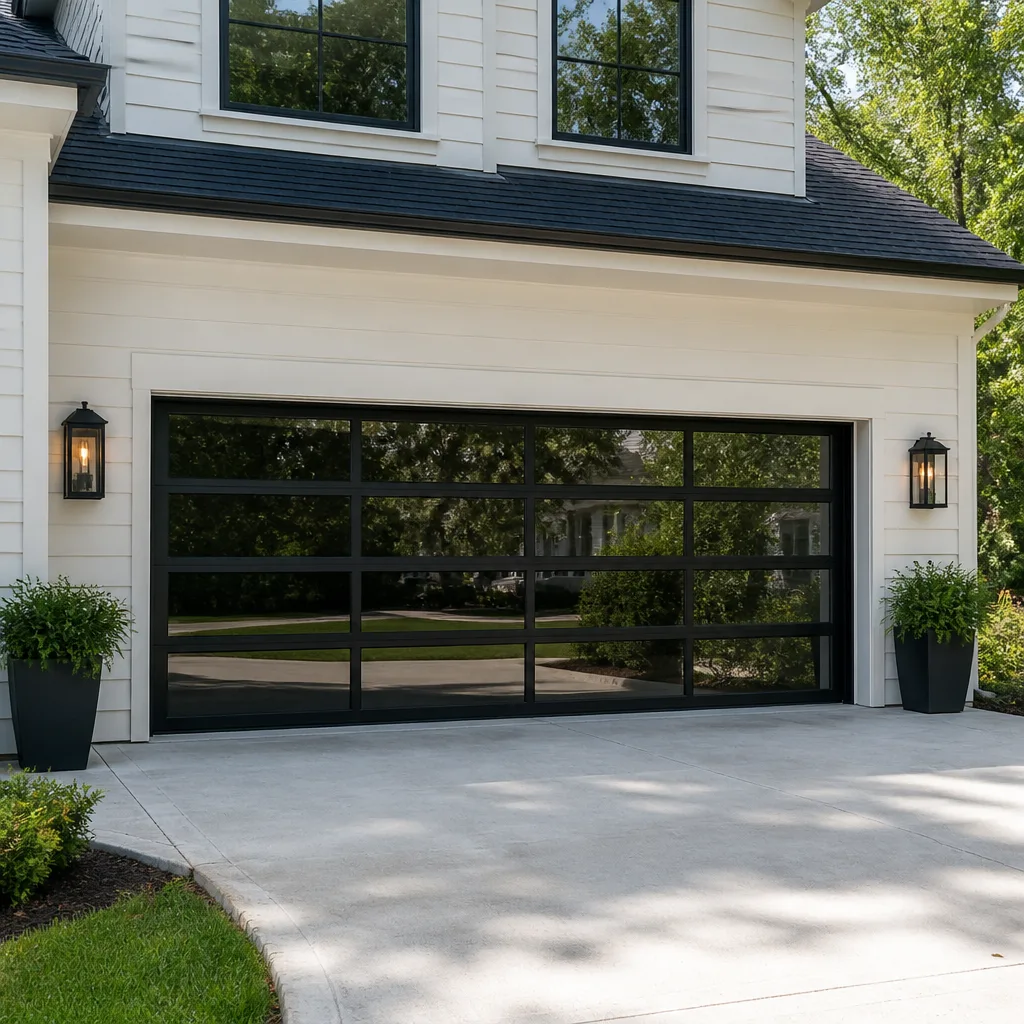 Full-view glass
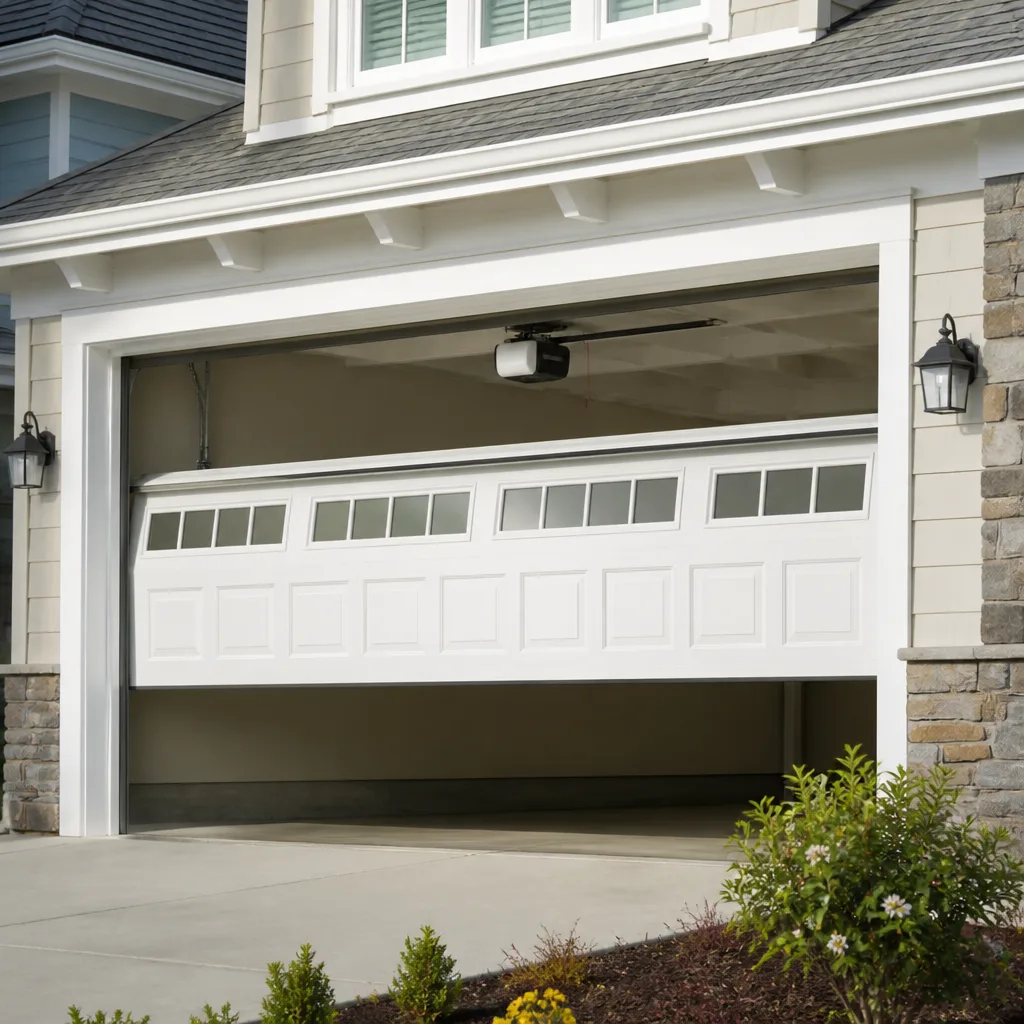 LiftMaster openers
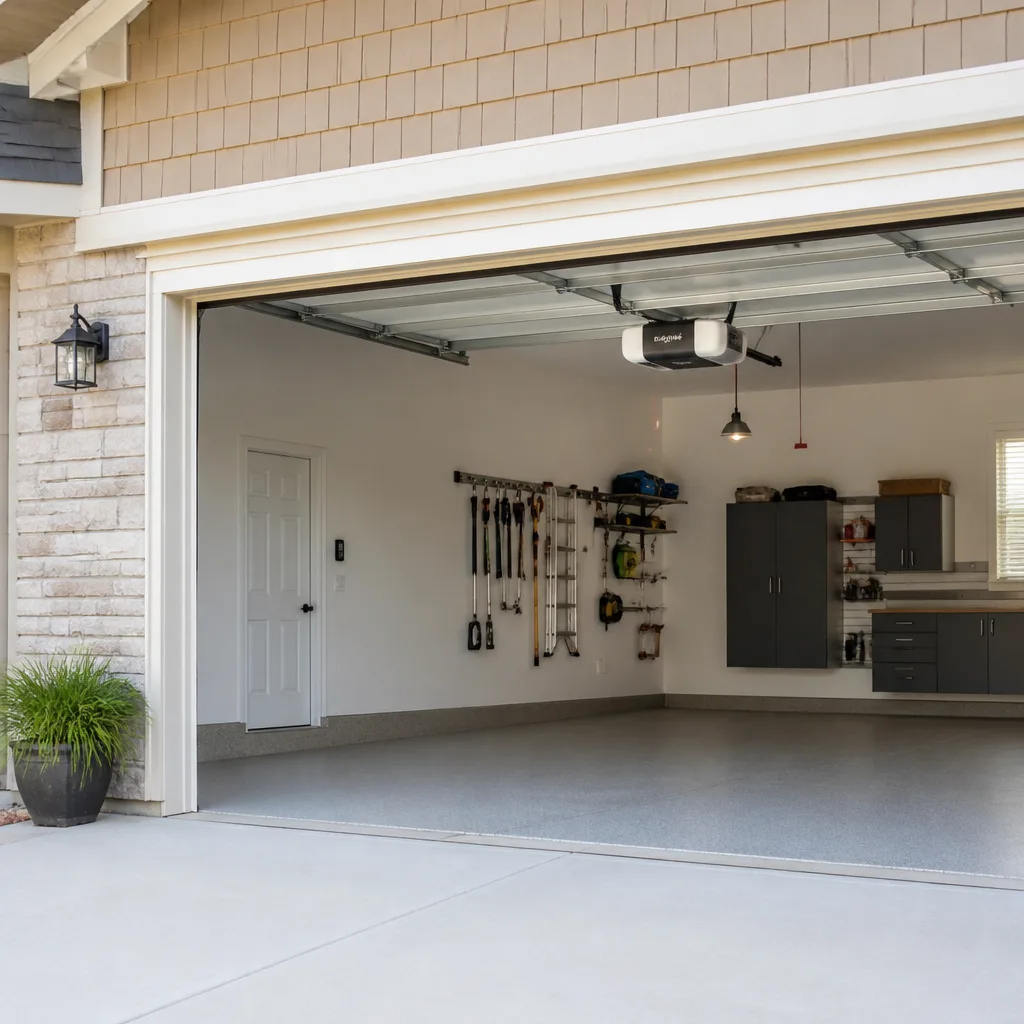 Chamberlain openers
Full 25-point door and opener safety check with every visit - springs, cables, rollers, tracks, and your LiftMaster or Chamberlain opener included
You get a price before we start. It does not change when the pro arrives.
Get your free estimateGarage Door Repair Maintenance Checklist for Orland Park Homeowners
A garage door has exactly one job, and it will warn you roughly six months before it fails to do that job – if you know the three places to look. Most checklists stop at “lubricate moving parts” and “test the auto-reverse,” which is a little like telling someone to “check the engine.” It sounds helpful until you’re standing in the garage with a can of WD-40 and no idea whether what you’re looking at is fine or about to snap. This guide is different. We’ve built it around the specific parts that fail first on the door systems we see across Orland Park, with pass/fail criteria you can actually apply without a toolbox full of specialty tools. You’ll learn the balance test that exposes a tired spring before it breaks, which lubricants help and which quietly destroy components, and how to time your checks to Orland Park’s seasons instead of a generic “once a year.”
Quick Answer
Inspect your garage door monthly with a quick visual and listen, do a full balance and safety test every season, and lubricate the right components twice a year – before winter and before summer. The three places to look that predict most failures are the springs above the door, the rollers and hinges along the tracks, and the photo-eye sensors at the base. Catching wear in those three spots is what separates a small adjustment from a snapped spring or a door that comes off its track.
Styles & brands we work with
- Raised-panel steel
- Carriage house
- Modern flush
- Full-view glass
- LiftMaster openers
- Chamberlain openers
Table of Contents
- The Three Places to Look First
- The Component-by-Component Inspection Sequence
- Which Lubricants to Use – and Which Ones Damage Your Door
- The Balance Test That Reveals Spring Fatigue
- Timing Your Checks to Orland Park’s Seasons
- Opener and Sensor Checks Most Homeowners Skip
- How to Document Findings So a Technician Can Triage by Phone
- Common Mistakes to Avoid
- When to Call a Professional
- Frequently Asked Questions
The Three Places to Look First
If you only have five minutes a month, spend them here. In our experience, the vast majority of garage door failures in Orland Park trace back to one of these three areas, and each gives you visible warning before it lets go.
1. The springs. These are the parts doing the heavy lifting, and they live right above the door where most people never look. A healthy torsion spring (the horizontal one on a shaft above the door) holds the door’s weight. Check for a visible gap – a hairline seam in a coil that wasn’t there before is the classic early failure sign. Extension springs (the ones that run along the tracks on older doors) should have safety cables running through them. If yours don’t, that’s worth addressing with a professional before anything else.
2. The rollers and hinges. Walk along the track and look at each roller. A healthy nylon roller is smooth and round with no flat spots. A failing one wobbles, looks chewed on the edge, or has visible cracks. Hinges should sit flush and move freely. If you hear a rhythmic squeak or grind that speeds up as the door moves, a roller or hinge is telling you something.
3. The sensors. The two small units at the bottom of the tracks, one on each side, are supposed to have a solid light on each. On most systems (LiftMaster and Chamberlain among them) a blinking or off light means the beam isn’t aligned or something is blocking it. Wipe the lenses, check nothing has shifted, and confirm both lights are steady.
These three checks catch the failures that matter most. The rest of this checklist drills into each one with pass/fail detail.
The Component-by-Component Inspection Sequence
Work through the door in a set order so you don’t miss anything. This is the same top-to-bottom logic a technician follows, just simplified for a homeowner with a flashlight and a few minutes.
- Springs (top of the door). Look for gaps, rust, or a door that feels unusually heavy. Pass: springs look intact and the door lifts with reasonable effort.
- Cables. The thin steel cables on either side of a torsion system, or along the tracks on an extension system, should be taut and free of fraying or kinks. Pass: cables are tight with no visible broken strands.
- Rollers. Examine each roller in the track. Pass: smooth, round, no flat spots or cracks.
- Hinges. Check that hinges sit flush and pivot smoothly. Pass: no looseness, no rust binding them up.
- Tracks. Run a hand along the inside of each vertical and horizontal track (door down, be careful). Pass: no dents, no debris, and the track runs straight and parallel.
- Panels and weather seal. Look at the bottom rubber seal and the panels themselves. Pass: seal is pliable with no cracks or missing sections, panels are straight.
- Opener and safety reverse. Test the auto-reverse and the photo-eye function per your opener’s instructions. Pass: the door reverses on contact and won’t close with the beam blocked.
If any single item fails, note it – don’t try to force a fix on the springs or cables yourself. Move on and collect the full picture first. That’s covered in the documenting section below.
Which Lubricants to Use – and Which Ones Damage Your Door
This is where most online checklists do real harm. “Lubricate moving parts” without naming the right product sends homeowners to the garage with whatever’s on the shelf, and a couple of common choices actively work against you.
Use these:
- White lithium grease or a silicone-based garage door lubricant on hinges, rollers, and bearing plates. These stay put and won’t attract a thick layer of grit.
- Silicone spray on the weather seal at the bottom of the door – it keeps rubber pliable through a cold Orland Park winter.
- A light machine oil sparingly on the torsion spring coils if you’re cleaning off surface rust (a professional-grade garage door lube is the better choice here).
Avoid these:
- WD-40 (the classic blue-and-yellow can). It’s a solvent and water displacer, not a lubricant. It strips existing grease and evaporates, leaving parts drier than before. It’s fine for loosening a rusted bolt, wrong for the moving parts of your door.
- Heavy grease or automotive axle grease. It collects dust, grit, and – in Orland Park’s summer pollen season – a sticky film that turns rollers into grinding stones.
- Cooking spray or household oils. They go rancid and gum up.
Wipe down hinges and rollers with a rag before you apply anything. Lubricating over grit just traps the grit in place. A thin, even coat is all you need – if it’s dripping, you used too much.
The Balance Test That Reveals Spring Fatigue
A spring doesn’t break without warning. It weakens gradually, and a simple balance test shows you how much lift it’s still providing – often months before a failure. Here’s how to do it safely, door only, no opener involved.
- Close the door fully and pull the manual release cord to disconnect the opener. The door should be under only spring tension.
- Lift the door by hand to about waist height – roughly three to four feet off the ground – and let go with the door stationary at that point.
- A healthy, properly balanced door stays put where you leave it, or drifts only a few inches.
- If the door sags toward the floor or races upward on its own, the springs are out of balance – either fatigued or misadjusted. Slight drift is normal; a strong pull in either direction is not.
- Reconnect the opener by pulling the release again once the door is fully closed.
A door that sags within a few seconds of release means the springs are doing less work than they should. It’s the earliest reliable sign of fatigue, and it’s what prompts an garage door spring repair call before a break leaves you locked out of the garage. Never test the door in this disconnected state with children or pets in the garage, and never touch the spring itself – the balance test is tactile, not a hands-on inspection of the spring.
If your door runs on extension springs (typically on older doors, often Wayne Dalton or Craftsman models built years ago), the balance test still applies, but the springs themselves run along the horizontal tracks and carry stored energy differently. Treat any sign of sagging or uneven lift as a reason to call.
Timing Your Checks to Orland Park’s Seasons
A generic “check it once a year” recommendation doesn’t reflect how a garage door actually wears in this part of Illinois. Orland Park sees real temperature swings – sub-freezing mornings in January, muggy summer afternoons in July – and those swings are hard on the door’s moving parts. Here’s how to time your checks to the local calendar.
- Late fall (before the first hard freeze). This is the most important check of the year. Cold stiffens the weather seal, thickens grease into paste, and puts extra strain on springs. Test the balance, lubricate hinges and rollers, and check that the bottom seal is pliable. A door that’s marginal in October is the one that fails in January.
- Early spring (after the thaw). Winter’s a punishing season for metal. Look for rust on springs, cables, and hinges, and re-lubricate everything cold weather dried out. Clean the tracks of grit left from the salt and sand that ride home on your car.
- Twice in summer – once early, once late. Summer heat expands and softens the weather seal, and pollen that settles on rollers and hinges turns into a sticky grit. A quick wipe-down and light re-lube keeps things moving.
- Monthly, year-round. A fast visual pass on the three hot spots – springs, rollers, sensors – plus a listen for any new noise. Two minutes is enough.
That gives you four structured checks a year plus monthly glance-overs, timed to Orland Park’s weather rather than an arbitrary anniversary date. If your door is due for a professional tune-up and you’d rather not handle the spring side yourself, schedule a garage door repair visit and have them look at everything at once.
Opener and Sensor Checks Most Homeowners Skip
The opener gets blamed for a lot of problems that actually start at the door, and it gets ignored for a lot of problems that actually start with it. Both matter. Here’s what to check on the motor and sensor side.
Photo-eye sensors. The two units at the base of the door throw an invisible beam across the opening. If that beam is broken, the door won’t close. Check that both indicator lights are solid, not blinking. Wipe the lenses with a soft cloth. If kids, pets, or a bike has bumped a sensor out of alignment, it can be nudged back into line – look for the mounting bracket and gently re-aim it until the light goes steady. A sensor that keeps drifting usually has a loose bracket worth having checked.
The safety reverse. Place a roll of paper towels or a piece of wood flat on the ground in the door’s path and run the door closed. It should hit the object and reverse immediately without crushing it. If it presses down and stops, that’s a safety failure – get it adjusted before using the door.
The motor and chain or belt. Listen as the door opens and closes. A healthy opener runs smooth and quiet. Grinding, straining, or intermittent stops can mean the motor is fighting a door that’s out of balance – which brings you back to the springs. If the opener itself is the issue (won’t respond to the remote, loses its travel limits, or the wall button won’t work), that’s a job for garage door opener repair, and it’s worth checking before you assume the whole unit needs replacing. Opener brands vary in their quirks – LiftMaster and Chamberlain models have their own diagnostic patterns, and older Genie and Craftsman units behave differently again.
Remote and wall button. A remote that only works up close usually has a dying battery, not a dead opener. Change the battery first before assuming a bigger problem.
How to Document Findings So a Technician Can Triage by Phone
This is the part most checklists skip entirely, and it’s the one that saves you the most time and money. A technician who knows what’s wrong before arriving can show up with the right part rather than making two trips. Here’s a simple record to keep.
- The door make and model. Look for a sticker or plate on the door or the opener. If it says Raynor or Wayne Dalton, note that – it tells a technician what to expect. If it says Clopay or Amarr, note it too.
- What failed on the balance test. Does the door sag, stay put, or drift up? Note the direction and how far.
- Any noises and when they happen. A squeak that only appears at one spot in the travel is a different problem than a constant grind.
- Which checks passed and which didn’t. A simple list of the seven sequence items with pass/fail is enough.
- Photos. Snap a shot of the springs, the sensor lights, and any spot that looks off. A photo of a spring with a visible gap transforms a vague “it’s making a noise” call into a specific repair.
With that list and a couple of photos, a trained technician can often diagnose the likely problem over the phone and arrive with the parts in hand. That’s a real time saver in a busy household, and it’s the difference between a same-day fix and a second appointment.
Common Mistakes to Avoid
- Spraying WD-40 on the moving parts. It feels like the obvious first move, but it strips grease and leaves parts drier than before. Use white lithium or a silicone garage door lubricant instead.
- Using heavy grease. Automotive grease collects grit and pollen and turns rollers gritty. A light coat of the right product beats a heavy coat of the wrong one every time.
- Skipping the balance test. Testing only the auto-reverse misses spring fatigue, which is the failure that causes the most disruption and the most damage.
- Adjusting the springs yourself. This is the single most dangerous thing a homeowner can attempt on a garage door. Springs store enormous energy; a slipped adjustment can cause serious injury. Leave it to a trained professional.
- Treating the annual check as the only check. In Orland Park’s climate, a door that sits unused for months through a cold snap can stiffen unpredictably. The four-seasons schedule matters more than any single annual visit.
- Ignoring small noises. A new squeak or grind is an early warning. Waiting until the door stops moving turns a minor adjustment into a repair call.
- Letting the weather seal crack and skip the fix. A dried-out bottom seal lets cold air, moisture, and pests into the garage. It’s a cheap part that’s easy to replace.
When to Call a Professional
Some checks you can do on your own. Some you absolutely shouldn’t. Call a professional when any of these apply: the balance test shows the door sagging or racing, a spring has a visible gap or break, a cable is frayed or kinked, the door is off its track or crooked, the auto-reverse fails to trigger on contact, or the opener is grinding or won’t respond to a new battery. For a door that’s stuck open, stuck closed, or off-track at an inconvenient hour, that’s an emergency call, and the right move is to stop using the door and get help rather than force it. Garage Door Repair Orland Park offers free estimates in Orland Park – call (855) 658-4224. We service LiftMaster, Chamberlain, Genie, Clopay, Amarr, Wayne Dalton, Craftsman, and Raynor systems, and we handle both spring and opener work without a second company involved. Our technicians have up to 8 years of experience, and the price is quoted and agreed before any work starts.
Frequently Asked Questions
Give it a quick visual and listen monthly, and do a full balance and safety test every season – four times a year, timed to the local climate. The most important check is late fall, before the first hard freeze, because cold weather is hardest on springs, seals, and lubricated parts. Call (855) 658-4224 if the balance test shows any sagging.
Spring repair typically runs in a predictable range, and the written estimate you receive sets the final price. One spring is quoted individually; because a matched pair is usually replaced together, a pair costs about twice the single-spring price. Get a free estimate by calling (855) 658-4224 – the quote is agreed before any work begins.
You can lubricate hinges, rollers, and the weather seal yourself with white lithium grease or a silicone-based garage door lubricant – just don’t use WD-40 or heavy automotive grease, which strip or trap grit. Leave the springs and cables to a professional; they store dangerous energy and shouldn’t be handled by a homeowner. Call (855) 658-4224 for a pro check.
The earliest reliable sign is a door that sags or races during the balance test, or a visible gap or seam in a spring coil. A healthy door stays where you leave it when disconnected from the opener; one that falls or lifts on its own has a tired spring. Call (855) 658-4224 before waiting for it to break.
A door stuck open leaves your garage and home exposed and is worth treating as an emergency. Stop operating the door, don’t try to force it down, and call a professional for same-day help. Call (855) 658-4224 – emergency garage door service is a core part of what we do.
The local professionals we connect you with are licensed and insured as their state requires. Our technicians have up to 8 years of experience and are brand-familiar with LiftMaster, Chamberlain, Genie, Clopay, Amarr, Wayne Dalton, Craftsman, and Raynor systems. Call (855) 658-4224 for a free estimate.
See the difference
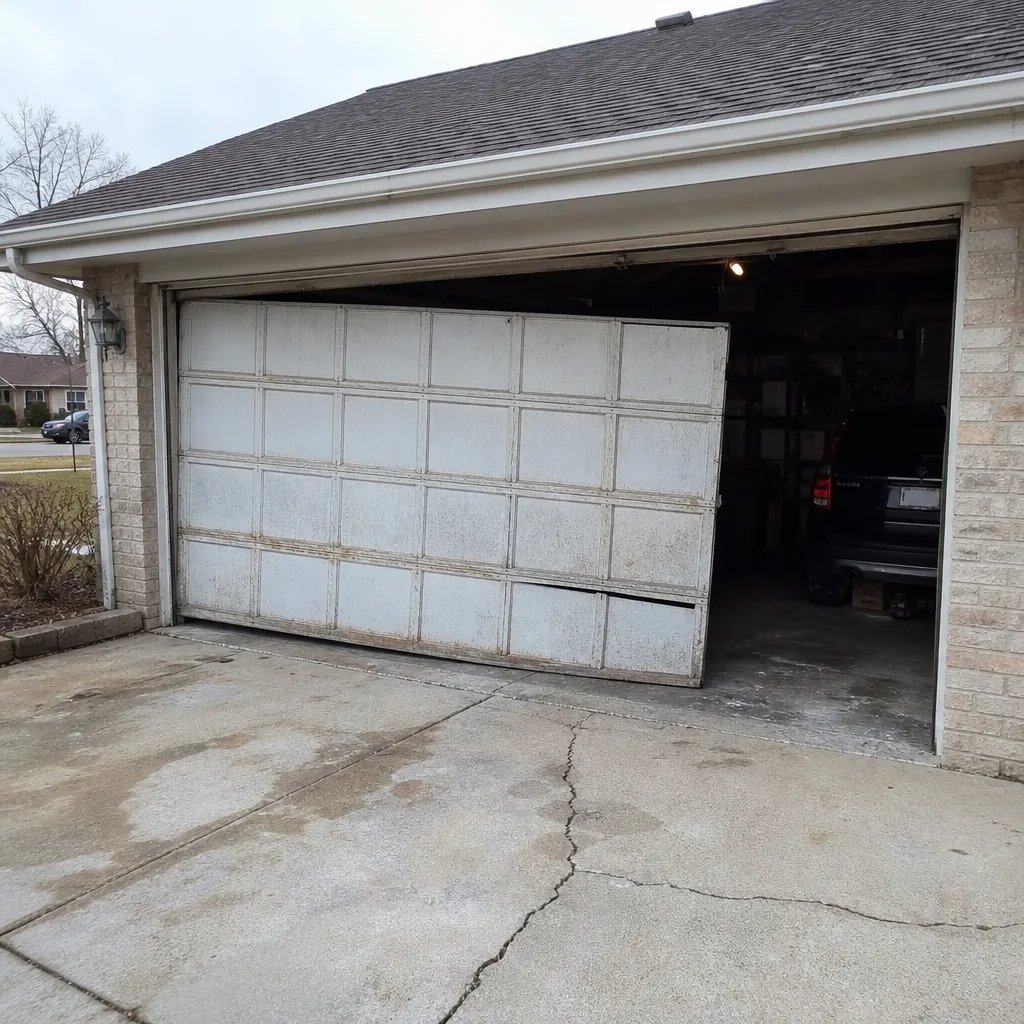 Before
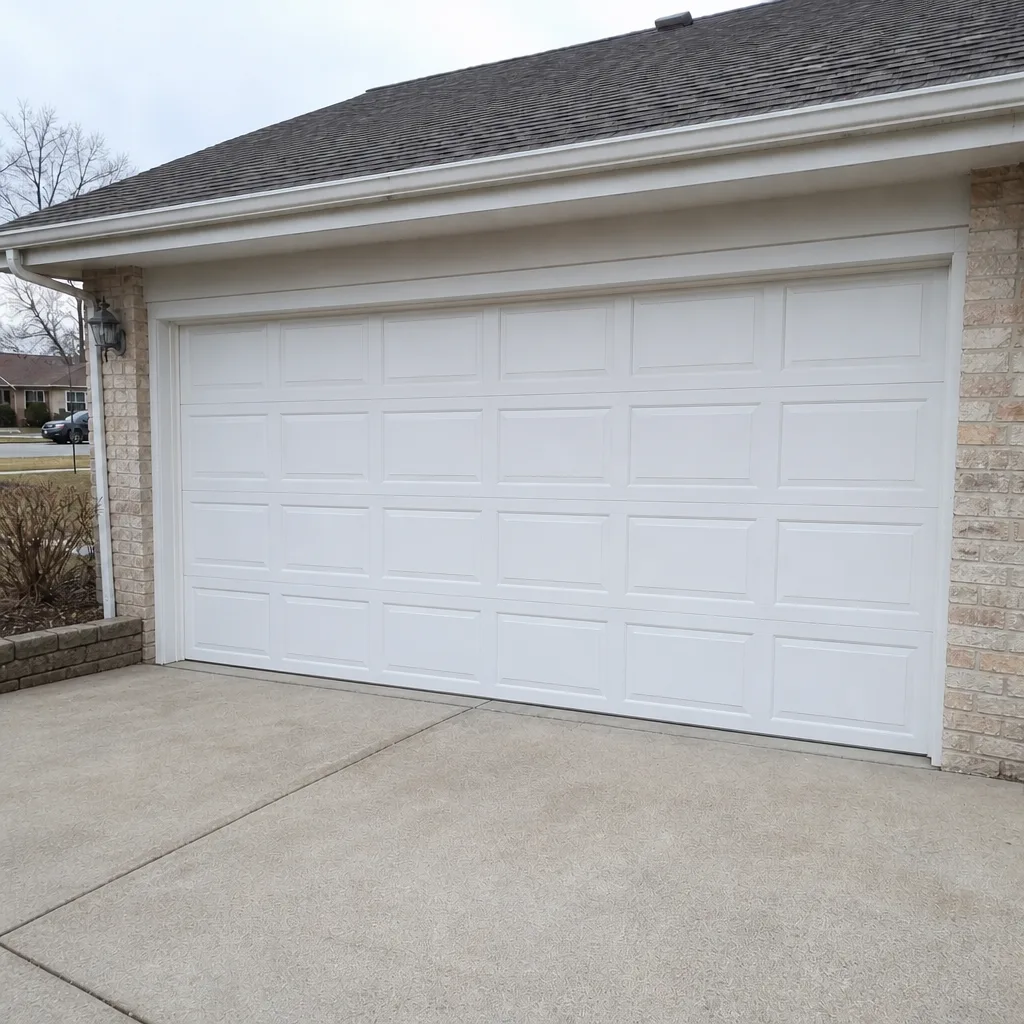 After
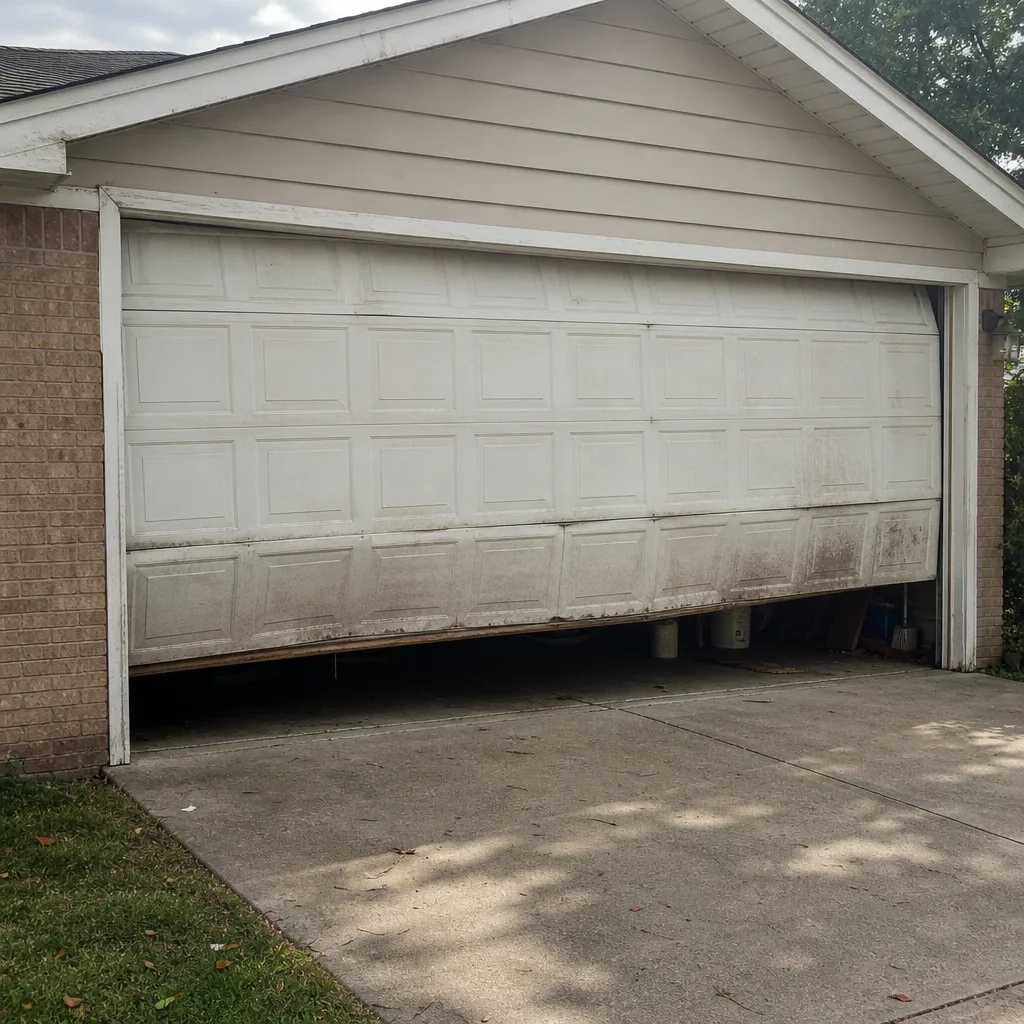 Before
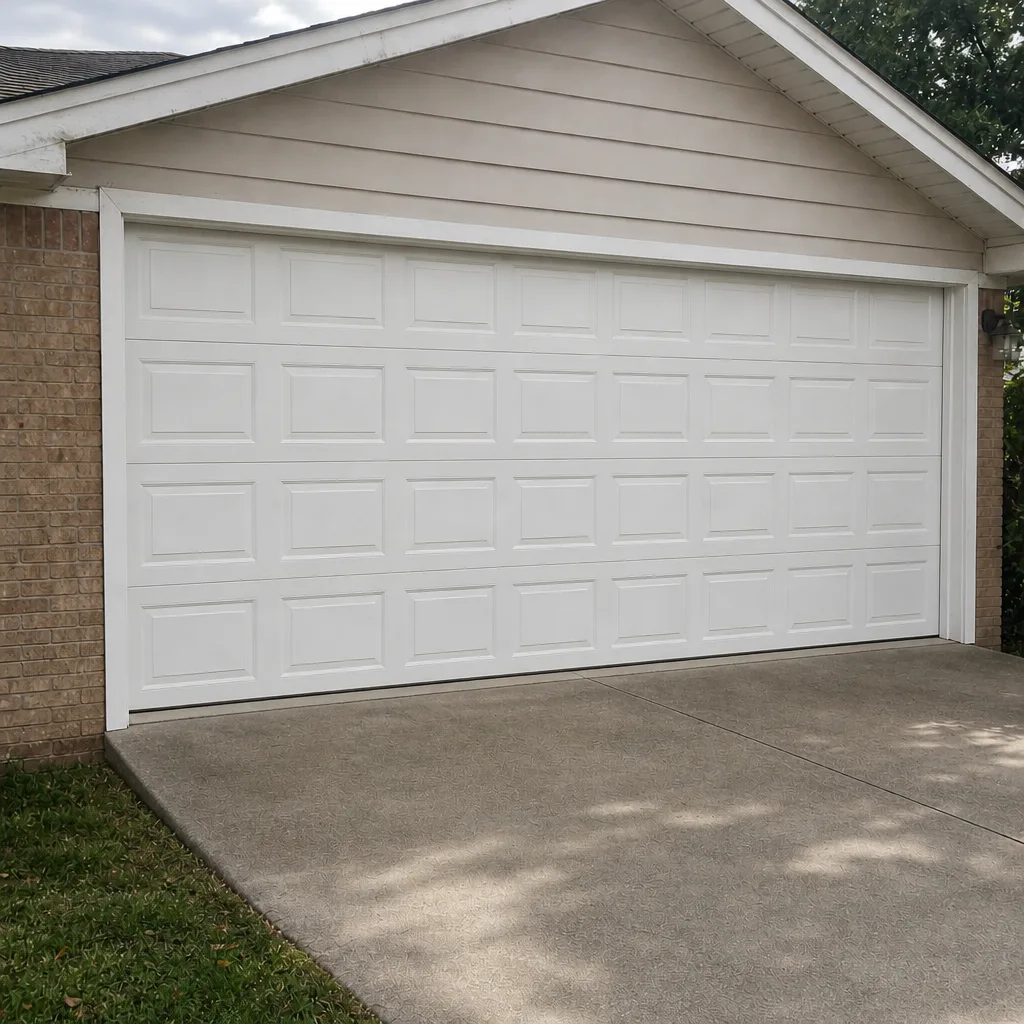 After
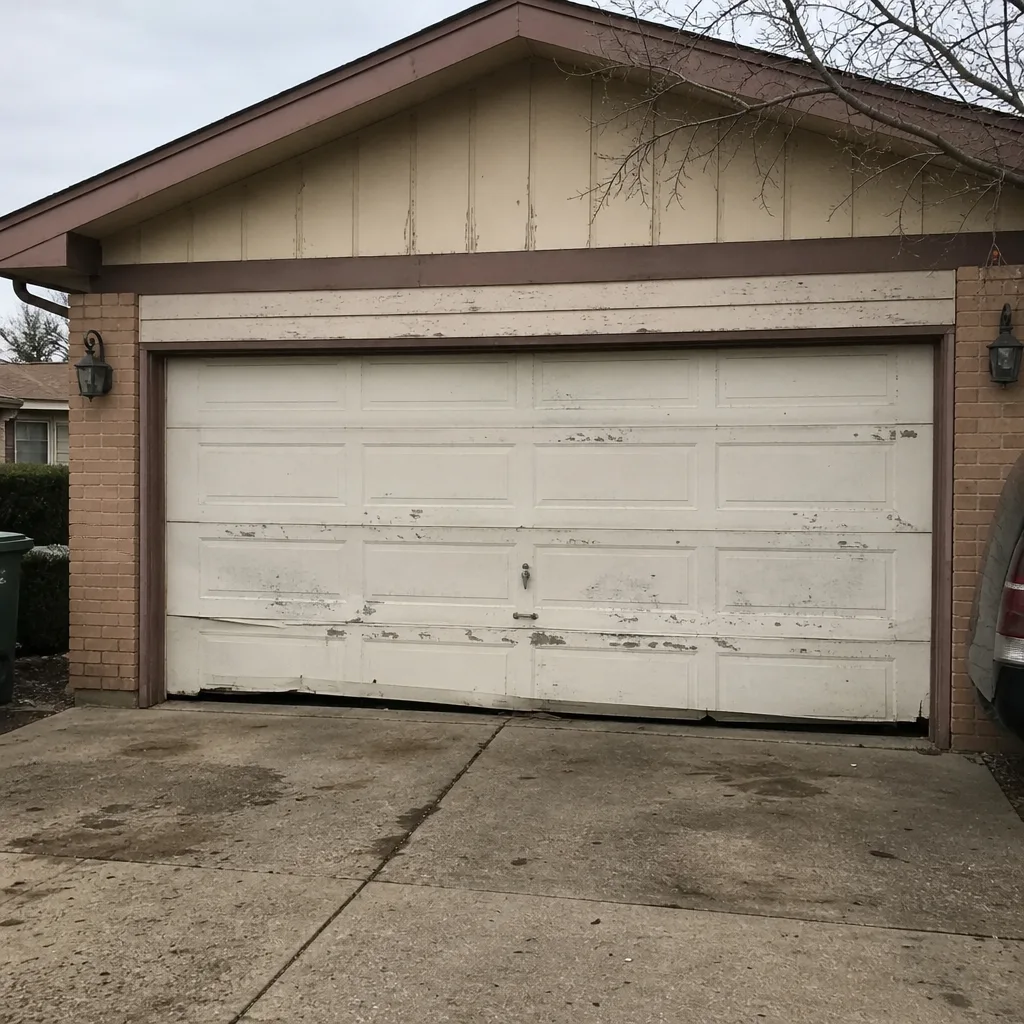 Before
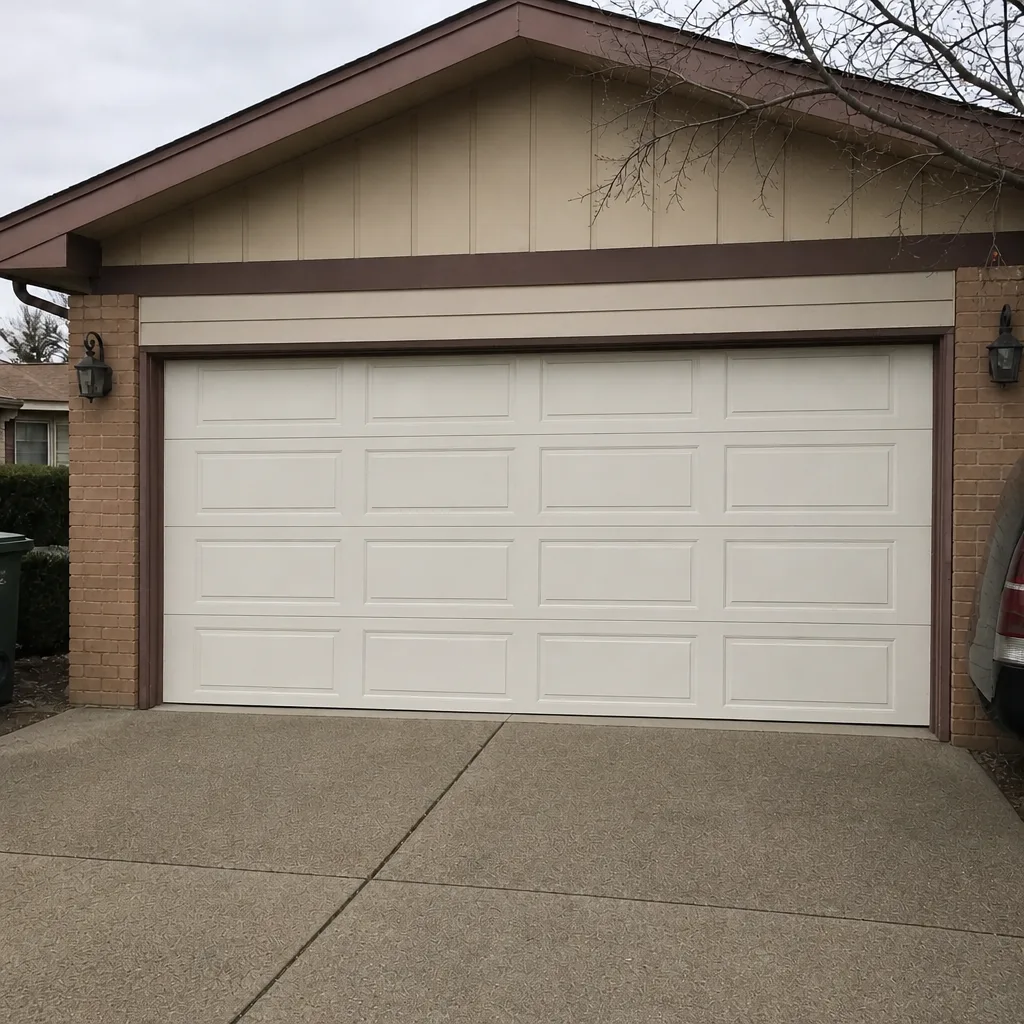 After
The Bottom Line
Your garage door warns you before it fails – usually about six months ahead – and the warning shows up in three places: the springs above the door, the rollers and hinges along the tracks, and the sensor lights at the base. Check those monthly, run the balance test every season, and time your lubrication to Orland Park’s four-season swing rather than a single annual appointment. Use white lithium or a silicone door lubricant, never WD-40 or heavy grease. Document what you find so a technician can triage by phone and arrive with the right part. And when the springs, cables, or tracks are involved, call a professional – the balance test is something you can do, but the spring itself is not.
Contact Us for a Free Estimate
If you’ve worked through this checklist and something doesn’t look right, or you’d rather have a trained eye confirm the door is ready for another Orland Park winter, we’re here. Call Garage Door Repair Orland Park at (855) 658-4224 for a free estimate. Whether you need routine garage door repair Orland Park or you’re looking at the spring side of things, the price is quoted and agreed before any work starts. From emergency call to new installation, we handle it all under one roof.
Written by the team at Garage Door Repair Orland Park.